Teacher, mom of 5, Google Certified Innovator, Google Developer Expert for Google Workspace, Google Cloud Innovator Champion, Author, Keynote Speaker, Workshop Presenter
Alice Keeler has a BA in Mathematics and an MS in Educational Media Design and Technology. She started teaching high school math in 1999 in the laptop Algebra program. Alice has taught 1:1 her entire teaching career and is passionate about using technology to create student centered classrooms.
Paperless is not a pedagogy. We should not seek to use technology to save paper, but rather to improve learning, improve relationships, and improve student engagement.
The tool is not what creates the learning, but rather an intentional approach for how a tool can create feedback loops, allow choice and voice, allows for communication of ideas in a creative medium, and increase collaboration.
See Alice Keeler in the Developer Keynote as a Google Cloud Innovator Champion
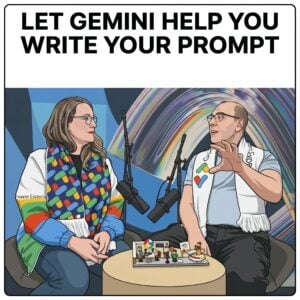
Join Alice Keeler for this session for teaching with AI
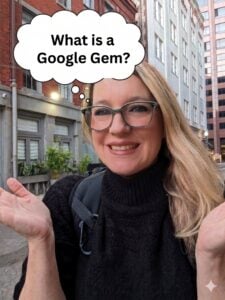
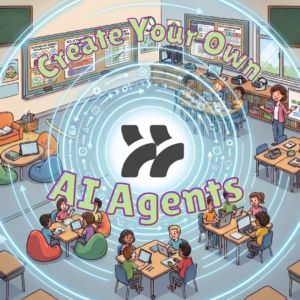
Imagine having a team of teaching assistants who already know your syllabus and exactly how you like to give feedback. Join Google Certified Innovator Alice Keeler to learn how to use Google Gems to build a powerful collection of custom AI tools. We will explore how to engineer specific instructions so you can create a Grading Assistant or a Classroom Policy Manager that works for you. You will also learn how to leverage Gems shared by other educators to instantly expand your toolkit. This session is about super-powering your teaching by automating the routine tasks so you can focus on the students.
Exit this pop up by pressing escape or clicking anywhere off the pop up.